How To Add Manually LinkWithin Related Post With Thumbnail In Blogger?

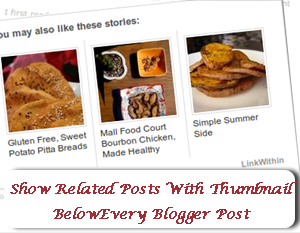
Blogger having new blogger bugs that automatic add to blogger widget is not working, and hence many blogger users are unable to add LinkWithin Related post with thumbnail in blogger blog.This post will show you how you can able to add it manually in blogger. I have added JavaScript base widget generator in this post which will reduce your efforts. for the purpose of engaged your visitor in you blogger blog this will be one of the best way. The post thumbnail will appear only on post page(no home page). that will reduce your home page loading time.
How To Add Manually LinkWithin Related Post With Thumbnail In Blogger?
Step 1: Go to LinkWithin.
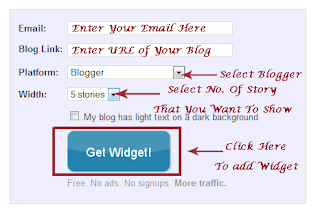
Step 2: Fill Up The Detail Like Email, Blog Link, Platform, Number of Story etc

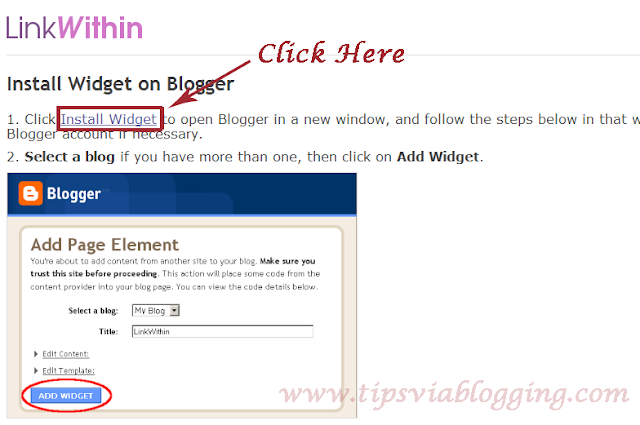
Step 3: Click on Get widget button, than another page will appear in which you are required to click on install widget link see following screenshot.

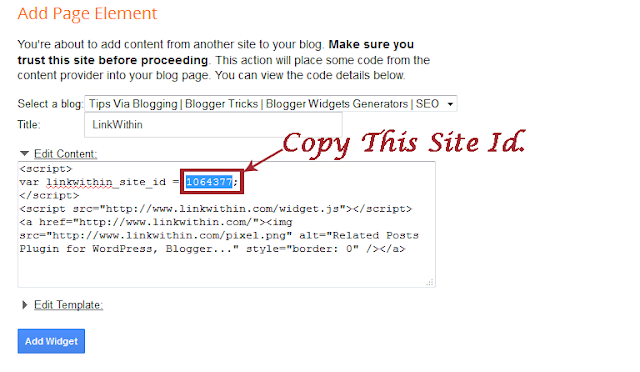
Step 4 : Find and copy your linkWithin site id.(be sure that you copy your own Id)

Step 5 : Paste copied site id in following widget and click on generate button. (make sure that you select complete entire code)
Step 6: Copy generated code.
Step 7: Log in blogger account and backup your blogger template ( How to backup blogger template? )
Step 8: Now Go To blogger dashboard > Template > Edit HTML > Proceed > Tick on Expand Widget Templates.
Step 9: Find </body> tag by pressing Ctrl+F.
</body>
Step 10: Now just above </body> tag paste code which we have copied in step 6 code.
Step 11: Find Following code by pressing Ctrl+F
<data:post.body/>
Step 12: Just Below that code paste following code.
<b:if cond='data:blog.pageType == "item"'>
<div class="linkwithin_div"></div>
</b:if>
Step 13: That Set, Save Template.
See your blog, Related post with thumbnail will only appear on post page (Not on home page) so that it will reduce loading time of your home page. :)

No comments